How to Tell If Your Bra Actually Fits: The 5-Point Check
Most people wear the wrong bra size — fitting studies over the years have repeatedly found that a large majority of bra wearers are in a size that doesn't truly fit them. The surprising part is that many of them suspect something is off but can't quite name it. Is the band supposed to feel this tight? Should the middle bit touch your chest? Are straps meant to leave marks?
This guide answers those questions with a simple, repeatable method: the 5-point fit check. Run through these five checks in front of a mirror and you'll know — in about two minutes — whether your bra actually fits, and exactly what to change if it doesn't. No specialist knowledge required, and you don't need to buy anything to do it.
If you haven't measured recently, start with our measuring guide and bra size calculator to get your estimated size first — then come back here and verify the fit on your body.
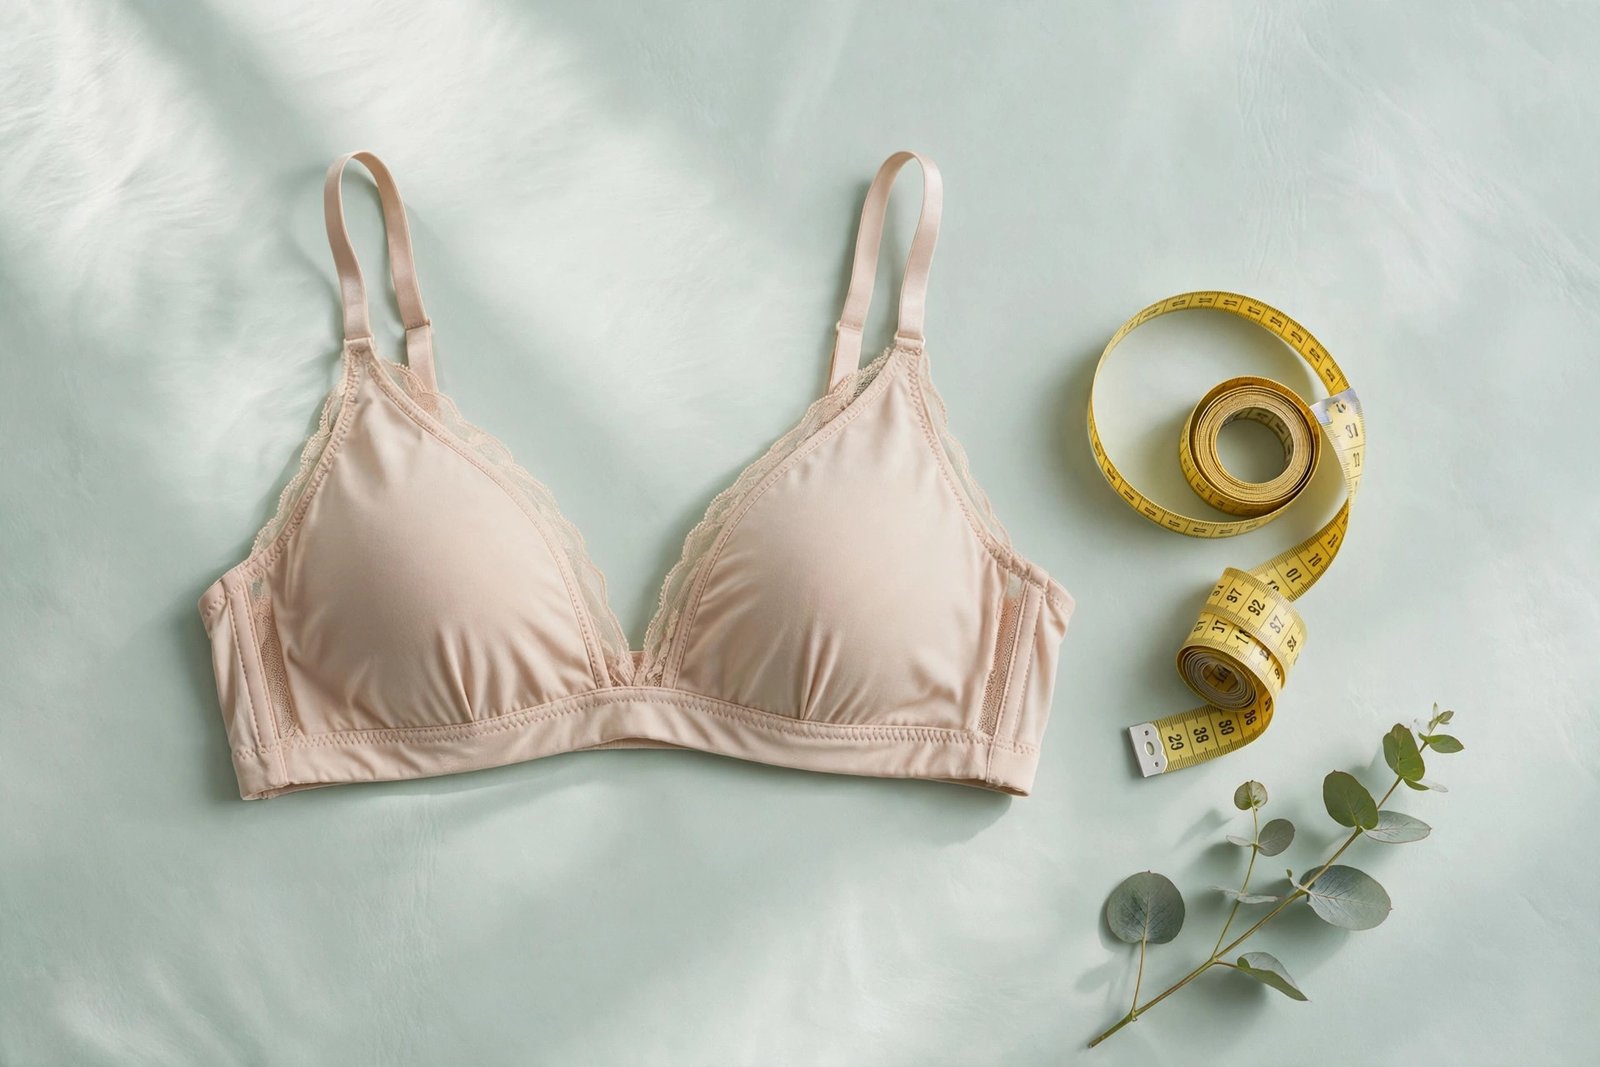
The 5-Point Fit Check
A well-fitting bra passes five checks: band, cups, centre gore, straps, and all-day comfort. Each check looks at a different part of the bra, and each has a clear pass/fail sign. Work through them in order — the band first, because it does most of the supporting work, and comfort last, because it's the final verdict no checklist can overrule.
For the most honest result, do the check in the bra you wear most often, standing in your natural posture in front of a mirror. And remember: you're judging the fit, not the style. A beautiful bra in the wrong size is still the wrong size.
1. The Band: Level, Snug, Anchored
The band does roughly 80% of the supporting work in a bra — the straps are just stabilisers. That makes the band the single most important part of the fit, and the part most people get wrong.
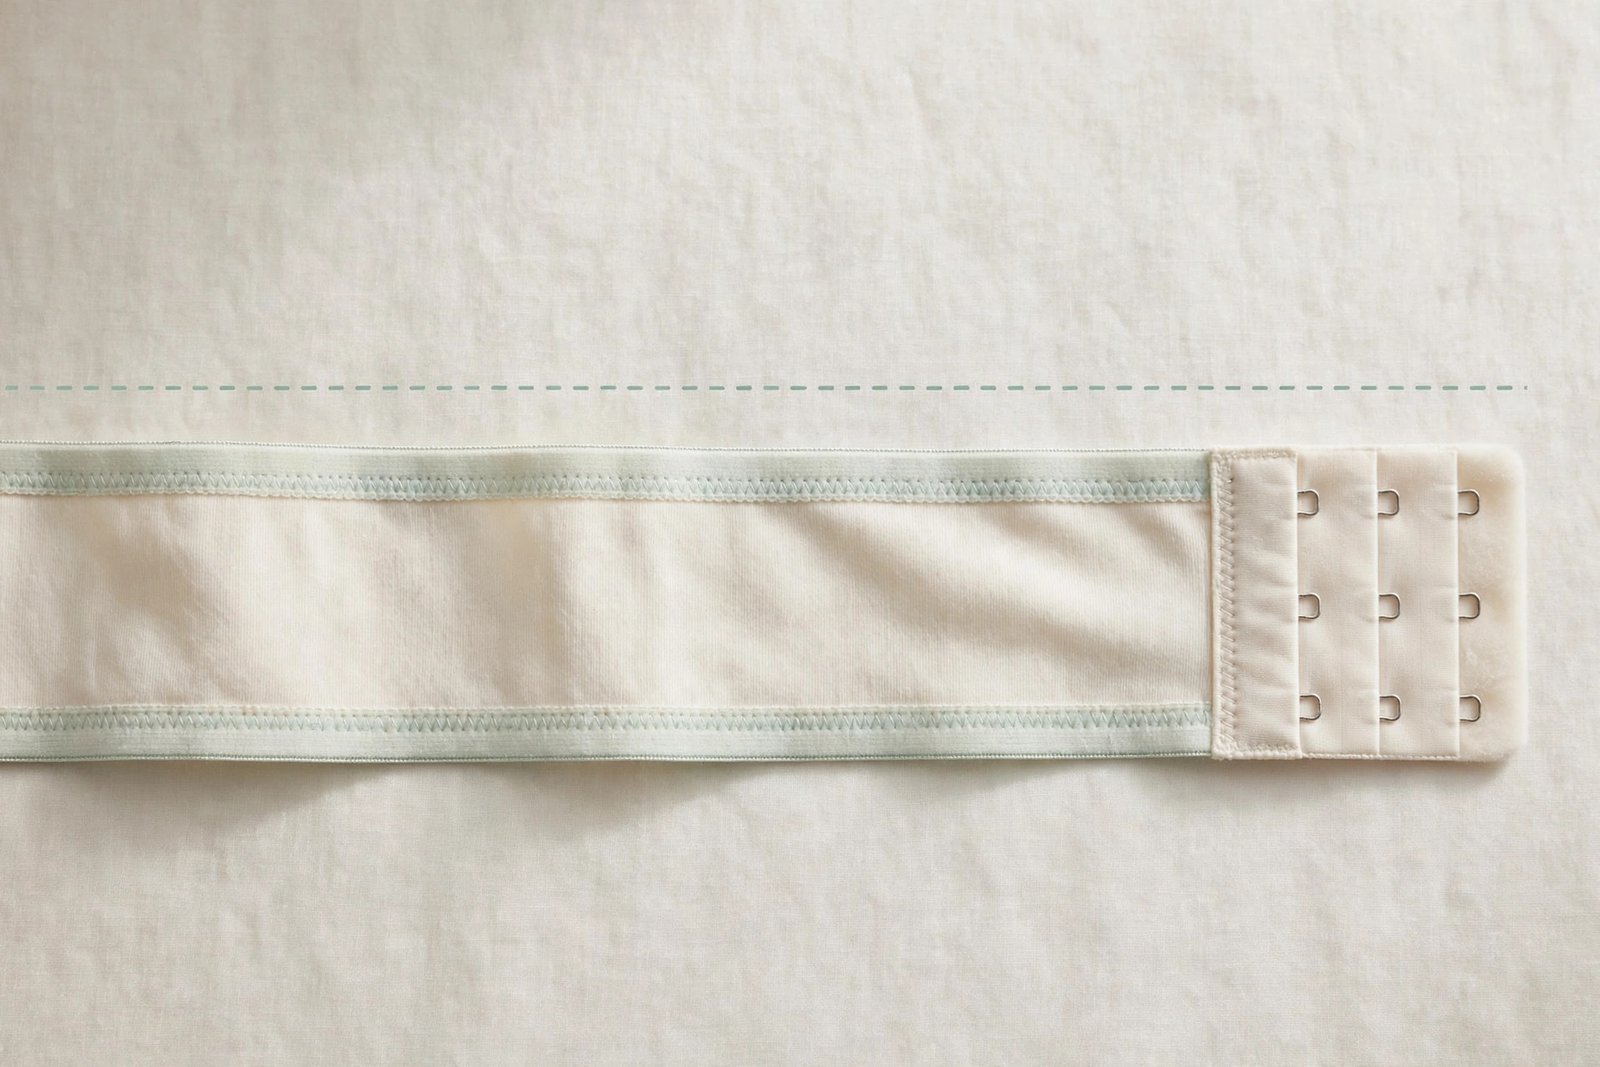
What a correct band looks like
- Level all the way around. The band should run horizontally around your torso — the back should sit at the same height as the front. Use a mirror to check the back view; this is the view you never see, and it's where most band problems hide.
- Snug on the loosest hook when new. A new bra should fit comfortably on the loosest set of hooks. Bands stretch with wear and washing, so starting on the loosest hooks gives you room to tighten later as the elastic relaxes. If you need the tightest hooks on day one, the band is too big.
- Two-finger tension. You should be able to slide about two fingers under the band at the back — no more, no less. If you can pull the band several inches away from your body, it's too loose. If you can't fit a finger under it without discomfort, it's too tight.
- Stays put when you move. Raise your arms, twist at the waist, bend forward. The band should stay anchored in place. A band that shifts, rides, or needs constant readjusting isn't doing its job.
What a wrong band looks like
Band riding up the back is the classic sign of a too-loose band — and the single most common fit problem overall. When the band can't anchor on your ribcage, the weight of the bust pulls the front down, which levers the back upward. The fix is usually a sister size down a band (and up a cup to keep the volume): 36B becomes 34C. Our sister sizes guide explains the rule, and the sister size calculator finds yours instantly.
Band digging in painfully with red marks that last for hours suggests a band that's too tight — or occasionally a band that's actually too loose, riding up and creating pressure in the wrong place. Check the level first: if the band is level but painful, try one band size up (with one cup size down to keep the volume). If the band is both riding up and digging, the size is wrong in both directions and it's worth re-measuring from scratch with our measuring guide.
2. The Cups: Contained, No Gaps, No Spilling
The cups should fully contain your breast tissue — every bit of it — with a smooth line from cup to body. Two opposite failures are possible here, and they point in opposite directions.
Signs the cups are too small
- Spilling over the top — the dreaded "quad-boob," where breast tissue bulges above the cup edge creating four visible sections instead of two smooth curves.
- Spilling at the sides — tissue escaping toward the underarms, sometimes creating bulges under the arms.
- Underwire sitting on breast tissue instead of flat against your ribcage. The wire should encircle the breast root; if it's resting on soft tissue, the cup is too small or too narrow for your shape.
The fix for all three: go up one cup letter (keeping the same band). If you're already between cup sizes, also consider that the style may not suit your shape — a plunge bra, for instance, will always show more upper fullness than a full-coverage style, and that's by design.
Signs the cups are too large
- Gaping at the top — empty fabric wrinkling or standing away from the body, especially when you lean forward or move.
- Wrinkling in the cup fabric even when you're standing still.
- The cup collapses rather than holding its shape against you.
The fix: go down one cup letter (keeping the same band). One caveat: gaping can also be a shape mismatch rather than a size problem. If the cups gape only at the very top but fit everywhere else, you may have less upper fullness than the style expects — trying a different cut (a balconette or demi instead of a full cup, for example) often solves it without changing size. Our cup size measuring guide explains how cup volume relates to band size in more detail.
3. The Centre Gore: Flat Against Your Sternum
The gore is the small panel of fabric between the cups at the centre front. In a well-fitting underwired bra, it should sit flat against your sternum — touching your chest between your breasts, not floating away from it.
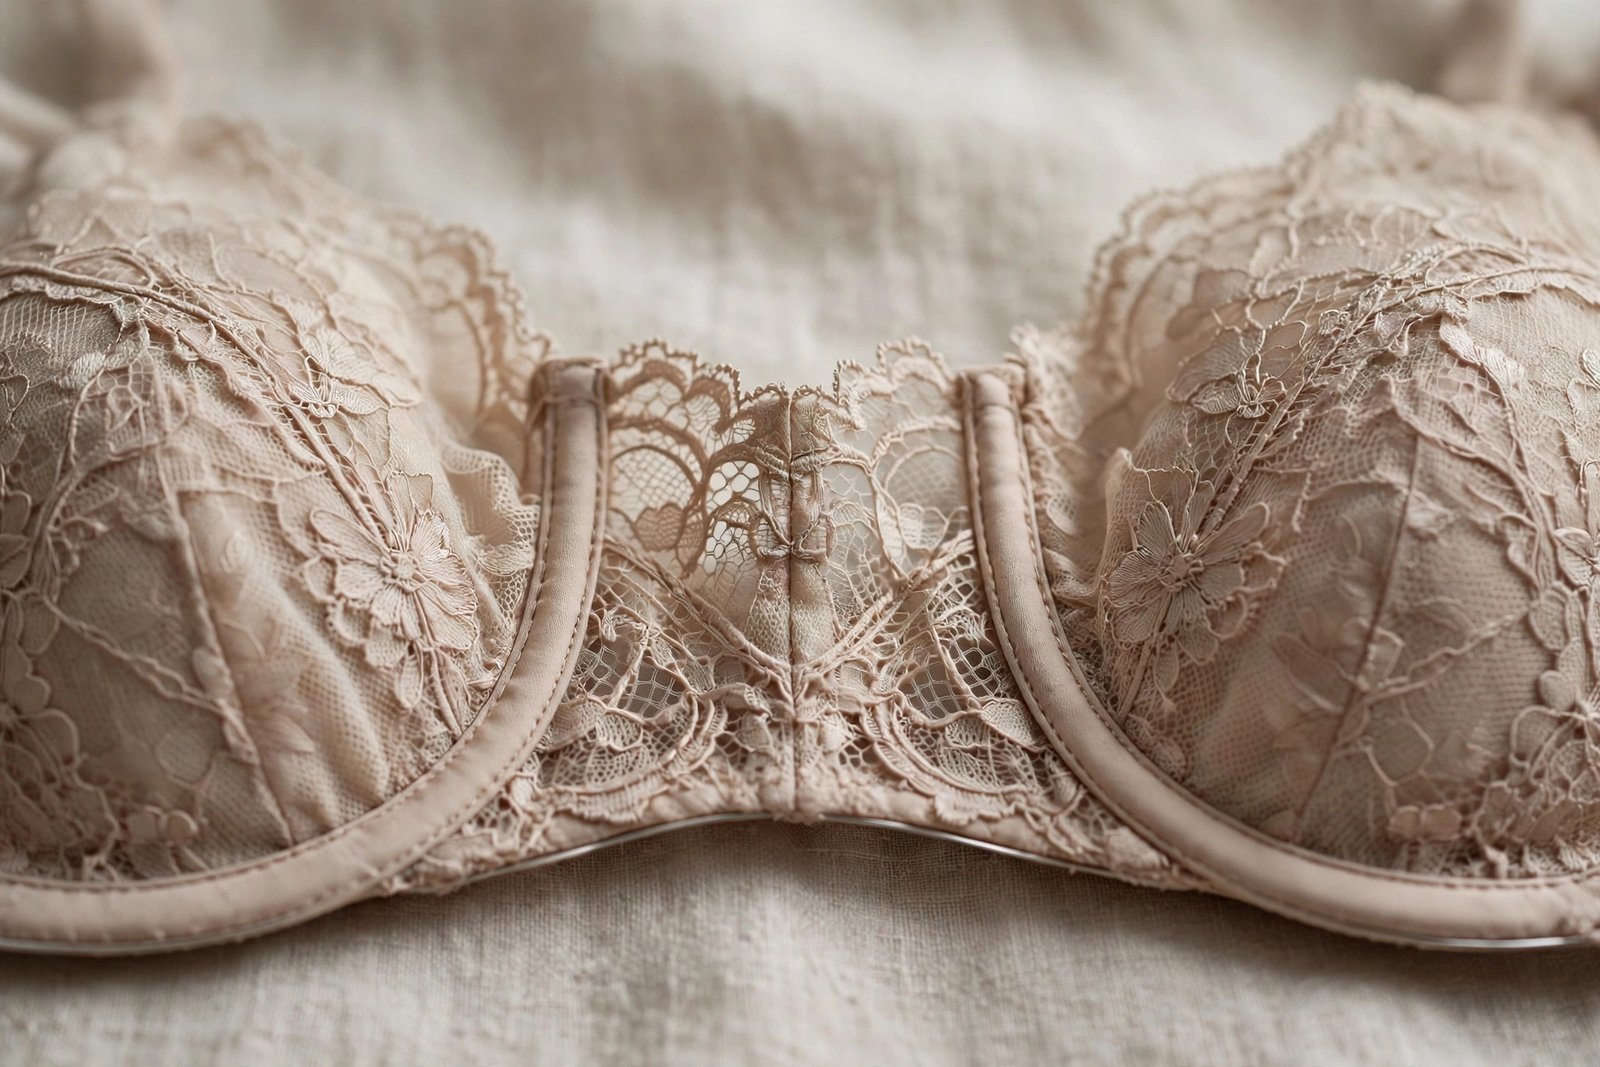
What the gore tells you
- Gore tacks flat: the cups are containing you properly and the band is anchoring well. This is the green light — combined with passing the other checks, your fit is good.
- Gore floats away from the chest: the most common cause is cups that are too small — breast tissue is pushing the cups (and the gore between them) outward. Try one cup size up. Less commonly, a too-tight band can pull the whole front flat against the body and lever the gore outward; if going up a cup doesn't fix it, check the band.
- Gore digs in painfully: the gore may be too high or too rigid for your close-set shape, or the band may be too tight. A lower gore (plunge styles) or a slightly larger band often helps.
A note on wire-free bras: soft-cup and wireless styles don't have a structured gore, so this check simply doesn't apply to them. Judge wireless bras on the band, cups, straps, and comfort instead.
4. The Straps: Secure Without Digging
Straps should do light stabilising work only — roughly 10–20% of the support. If your straps are doing the heavy lifting, something is wrong with the band.
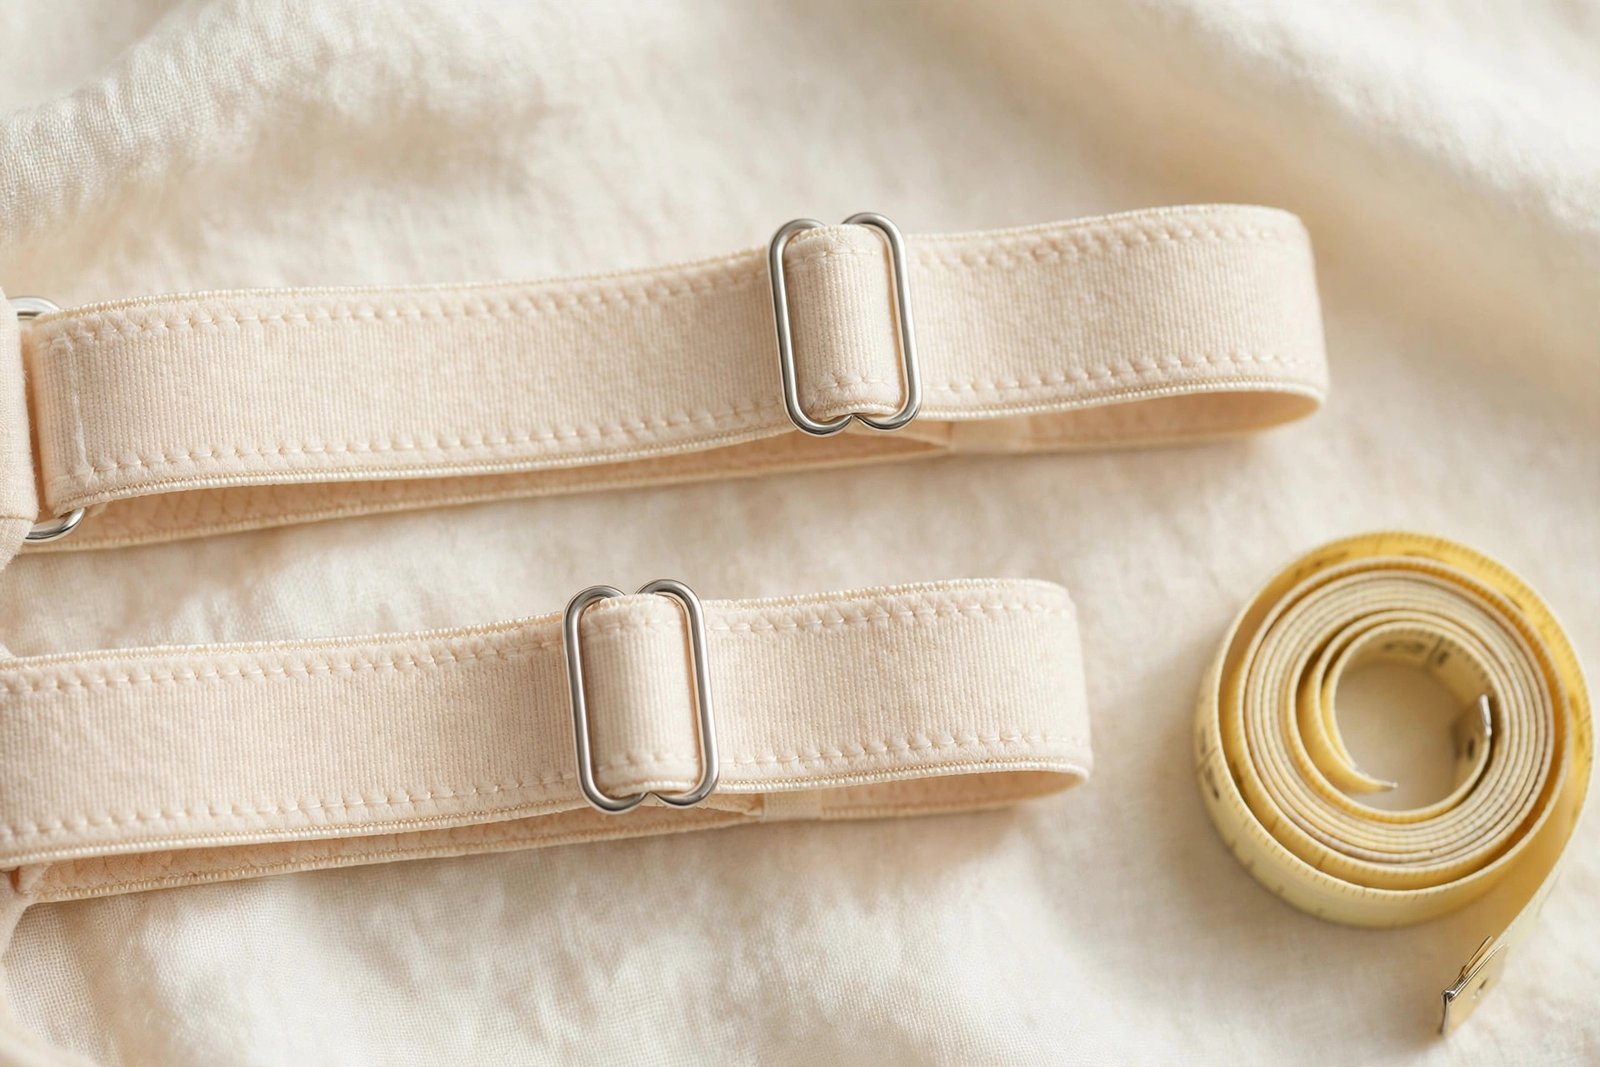
What correct straps feel like
- Snug but comfortable. You should be able to slide one finger under each strap with slight resistance. They stay in place through a normal day without needing adjustment.
- Even on both sides. Check that both straps are adjusted to the same length — it's remarkably common for one side to be tighter than the other.
- No red grooves at day's end. Light marks that fade quickly are normal; deep grooves that last for hours mean the straps are carrying too much weight.
Strap problems and what they really mean
Straps digging in is rarely a strap problem — it's usually a band problem. When the band is too loose to support the bust, the straps take over and dig into the shoulders. Tightening the straps further just moves the pain around. The real fix: a snugger band (sister size down a band, up a cup). If the band is genuinely snug and level but the straps still dig, you may need a style with wider, padded straps, which distribute weight better.
Straps slipping off usually means the straps are set too wide for your frame, the band is too loose (letting everything shift), or the straps have stretched with age. Try tightening them first; if they still slip, look for styles with closer-set or convertible straps, or consider that the band size needs to come down.
5. The All-Day Comfort Test
Here's the check no diagram can replace: wear the bra for a full day and notice how you feel by evening. A bra that passes the mirror checks but leaves you counting the minutes until you can take it off is not the right bra — even if the size is technically correct.
The evening audit
- Did you think about the bra during the day? A great fit is forgettable. If you adjusted, tugged, or shifted it more than once or twice, something's off.
- Are there lasting marks? Light, quickly-fading impressions are fine. Deep red lines, grooves, or sore spots that persist for hours point to excessive pressure somewhere — usually the band or straps.
- Did the fit change through the day? Bands relax slightly with body heat and movement. A bra that starts snug and ends comfortable is ideal; one that starts comfortable and ends sloppy was too loose to begin with.
- How does your posture feel? Proper support should make your upper body feel lighter, not burdened. Lingering neck, shoulder, or back tension by evening often traces back to a loose band forcing the straps to overwork.
Keep a simple mental (or actual) note for a few days across different bras. Patterns emerge quickly: if every bra rides up, your band size is systematically too big; if every bra digs at the shoulders, your bands are too loose across the board. That kind of pattern is valuable information — bring it to your next measuring session.
Quick Diagnosis: Symptom to Fix
Use this table as a shortcut. Find your symptom, then try the suggested fix — and re-run the 5-point check afterwards.
| Symptom | Likely cause | Try this |
|---|---|---|
| Band rides up the back | Band too loose | Sister size down a band, up a cup (e.g. 36B → 34C) |
| Spilling over the top/sides | Cups too small | Up one cup letter, same band |
| Gaping or wrinkling cups | Cups too large (or shape mismatch) | Down one cup letter, or a different cup cut |
| Gore floats off the chest | Cups too small | Up one cup letter |
| Straps dig in | Band too loose (straps overworking) | Snugger band via sister size; check band level first |
| Straps slip off | Straps too wide / band too loose / stretched out | Tighten; try closer-set straps; check band size |
| Underwire on breast tissue | Cup too small or too narrow | Up one cup; consider a wider-wire style |
| Back/shoulder pain by evening | Band too loose, straps compensating | Re-measure; prioritise a snug, level band |
One adjustment at a time is the golden rule. Change the band or the cup, wear it for a day, and reassess — changing both at once makes it impossible to tell which change helped. And when a size is close but the style fights you, remember that style matters as much as size: the same 34C can fit beautifully in a balconette and terribly in a plunge, because the shapes distribute volume differently.
If the table suggests your whole size might be off, the fastest path forward is to re-measure carefully, run the numbers through our bra size calculator, and then verify the new size with this 5-point check. Measure, calculate, verify — that loop is the entire science of bra fitting, and it works.
Frequently Asked Questions
How tight should a bra band be?
Snug enough to stay level and anchored, but not painful. You should be able to slide about two fingers under the back band. A new bra should fit on the loosest hooks, giving you room to tighten as the elastic relaxes with wear. The band does about 80% of the supporting work, so its fit matters more than any other part.
Should the middle of my bra touch my chest?
In an underwired bra, yes — the centre gore should sit flat against your sternum. If it floats away, the cups are usually too small. (This doesn't apply to wireless or soft-cup bras, which have no structured gore.) If the gore digs in painfully, the band may be too tight or the gore too high for your shape.
Why does my bra band ride up in the back?
A riding band is almost always too loose — it can't anchor on your ribcage, so the bust's weight levers the back upward. The fix is typically a sister size down one band (and up one cup to keep the volume), e.g. 36B becomes 34C. Check with a mirror that the band runs level all the way around.
Are my straps supposed to leave marks?
Light marks that fade quickly are normal. Deep grooves that last for hours mean the straps are carrying too much weight — which usually means the band is too loose and the straps are compensating. Fix the band first (snugger band via a sister size) rather than just loosening the straps.
How do I know if my cups are the right size?
The cups should fully contain your breast tissue with a smooth line — no spilling over the top or sides (too small), and no gaping or wrinkling fabric (too large). The underwire should sit flat against your ribcage, encircling the breast root rather than resting on breast tissue.
How often should I check whether my bra still fits?
Do a quick version of the 5-point check whenever you notice discomfort, and re-measure at least once a year or after any significant weight change, new exercise routine, pregnancy, or breastfeeding. Bras also stretch with wear — if a bra that used to fit now rides up or feels loose, the elastic may simply be worn out rather than your size having changed.
Try It Yourself
Reading about sizing is useful — measuring is better. Grab a tape measure, take your two measurements, and get your estimated size in under a minute.